User Guide

Introduction
The Client 360 user guide provides all the information needed to get started with the Client 360 application and web portal.
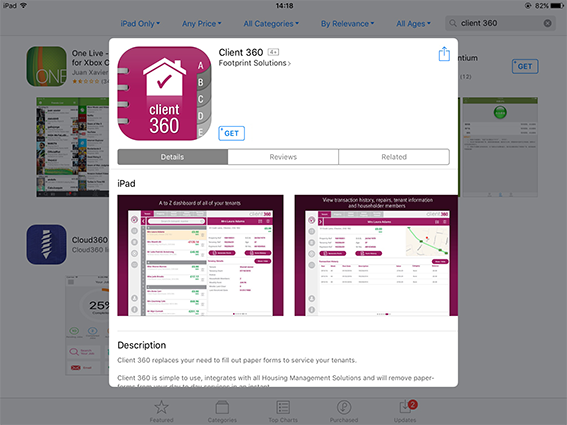
Client 360TM is a totally new way of managing your Housing Trust. It is a tablet-based application that allows Neighbourhood Officers to look up tenant and property details on the move and raise and complete service forms in real-time.
Generate iForms directly from the App and then view the submitted documents in the web portal.
1. Installation & Log-in

When the application has been installed the Client 360 icon will appear on the home screen of your iPad. If you wish you can drag it into the favourites bar at the bottom. Tap this icon to open the application. Note that your tablet must be online in order to login to the Client 360 application for the first time.


When you have entered your company details, press ‘Continue’. The app will take you to the ‘Login’ screen.

To View an online version of the Client 360 User Guide tap the ‘User Guide’ button. To view information about the app tap the ‘i’ button.
To login to the app you must hold a Client 360 licence and will require two things: a user name and a password. The user name will be your mail address and the password will initially be determined by your IT department.
For more information on how to obtain a Client 360 licence, please contact the Footprint team at support.footprint-solutions.co.uk or email: sa***@ho***************.uk
When you have entered your credentials, press ‘Login’.
The app will load momentarily before taking you to the ‘Home’ screen.
If login is unsuccessful, please verify that your user name and password are correct and that your iPad is still connected to the internet. If you are still experiencing issues logging into the application, please contact the Housing Support Pro support team for assistance.
Type your email address into the field and press ‘Reset Password’.
If, instead, you do not wish to change your password, please tap ‘Back’ to return to the login screen.
A password reset email will be sent to your inbox. Follow the link in the mail to reset your password.
2. Basic Features
1. Expand to view additional tenant or property information.
2. Return to Home Screen.
3. My Tasks.
4. View Watchlists.
5. Re-sync app.
6. User Guide.
7. Log out of the app.
8. Information about the app.
9. Change between Tenant Search or Property Search and Recently Viewed.
10. Add tenant or property to a Watchlist.
11. View all forms submitted for a particular Tenant or Property.
12. Show, hide and reorder information panels.
13. Generate an iForm pre-populated with the Tenant or Property information.
14. Send an SMS / Email to a Tenant
15. Tenant information sliders are displayed here.
The ‘Home’ screen defaults to the ‘Tenant’ search tab. The ‘Tenant’ search tab displays the list of lead tenants living in properties in your area to which you are assigned.
Scroll up and down the list using your finger, or use the alphabetical scroll bar on the left to jump to tenant surnames beginning with a particular letter.
If you are looking for a certain tenant, enter the name of the tenant in the search bar at the top of the tenant list. The list will filter down automatically when you begin to type.
When you have found the tenant that you are looking for, select them on the list. The information for the chosen tenant, including other members of the household, will be displayed on the right.
If you are looking for a certain property, enter the name or number of the property in the search bar at the top of the property list. The list will filter down automatically when you begin to type.
When you have found the property that you are looking for, select it on the list. The information for the chosen property, including tenant details, will be displayed on the right.
Enter the name of the tenant or the property (depending on which Global Search you are using) in the search bar and tap ‘Search’.
The search will then return results.
Note that unlike the standard tenant or property search, ‘Global Search’ is not a live search and will not display any results unless ‘Search’ is pressed.
The ‘Global Search’ feature will not work offline.
To clear the ‘Recently Viewed’ list, tap the ‘Clear Recently Viewed’ button. Tap ‘Clear’ to confirm.
All records will then be removed from the list. The list will fill up again when you begin to view additional records in the tenant and property lists.
3. Using Watchlists
Watchlists can be created to keep an eye on certain tenants or properties of interest. Clicking either of the two eye icons will open the watchlist window.
Your new watchlist will then appear below, along with any pre-existing watchlists.
Flick the buttons to the right of the watchlists you would like this form to appear in, and then select ‘Done’ to confirm.
Here you can view, edit or delete watchlists.
The watchlists you have created will appear on the left.
Tap to display the watchlist content.
Tap the red icon to delete.
Tap ‘Delete’ to confirm or ‘Cancel’ to dismiss.
A red icon will appear next to the list. Tap to delete.
Tap ‘Delete’ to confirm or ‘Cancel’ to dismiss.
4. Tasks
Select the priority, status and reason for the task from the drop-downs and include any comments in the ‘Task description’ field. The tenant’s name and address and the date it was reported will be generated automatically by the app.
Press ‘Done’ to create the task.
Select the Appointment Date, Appointment Time and Duration from the bottom of the screen.
Now press the ‘Calendar’ icon. Note that the appointment information has been carried through. When you have filled out all the relevant information, press ‘Add’.
To view any task created that week select either ‘My Week’ or ‘Today’.
A red icon will then appear next to the name on the left hand side. Tap this to delete the task.
Tap ‘Delete’ to confirm or ‘Cancel’ to dismiss.
5. Tenant / Property information
The address of the property, details of the lead tenant and any relevant household references will displayed on the left hand side, with a map showing the location of the property on the right.
Additional information panels appear underneath. These panels include information and contact details of each member of the household, tenancy, task details, history of repairs, transactions and an action diary.
Swipe left and right through the panels to view the additional tiles.
Choose the panels that are displayed by flicking the toggles on and off.
To reorder the panels press the ‘Reorder’ button on the top right hand corner.
Tap and drag the dots to the left of the panel names to reorder them.
To confirm and return to the Tenant and Property Information section, press ‘Done’.
6. Communication
Write your custom message in the input box, or alternatively select a predefined message to send to a household member. Once you have created a message, press the ‘Send’ button.
The message will automatically be delivered to the recipient, and you will be returned to the home screen.
Note that, if you have already created a message and then choose instead to use a preset message, then you will be prompted to confirm this replacement.
As with the SMS messenger, you have the option of creating a custom message or using a predefined template. When you have created your message, press ‘Send’.
The message will automatically be delivered to the recipient and you will be returned to the home screen.
Note that, if you have already created a message and then choose instead to use a preset message, then you will be prompted to confirm this replacement.
7. Form Features
To generate an iForm, navigate to the required tenant or property and tap the ‘Generate iForm’ button.
Select the naturalForms application from the options to open the pre-filled iForm.
You may need to sign in to the application, if you have not done so already.
The following message will be displayed, confirming that the data has imported successfully.
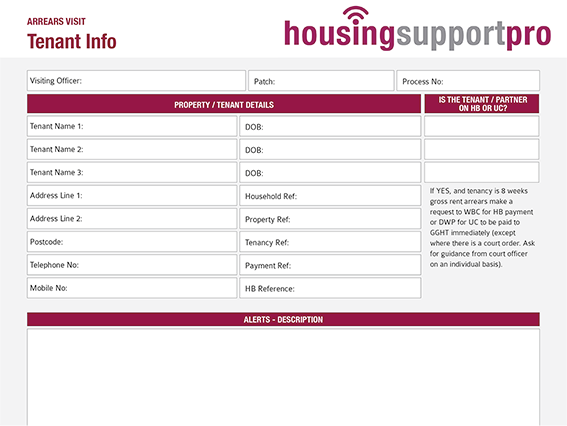
When you open the form, you will see that key fields such as the Tenant Name and Tenant Address have been pre-populated.
When you submit the iForm it will be processed by the Client 360 portal and can be viewed in ‘Form History’.

Once pressed, the Client 360 web portal will launch in the web browser on your iPad.